Why Does My Bolt With Screw Keep Coming Loose?

Time:2026-10-25 Author:Oliver
0%

Why Does My Bolt With Screw Keep Coming Loose? The answer usually begins with lost clamping force, not a defective thread. A Bolt With Screw behaves like a spring: tightening stretches the bolt and presses the joined parts together. Vibration, joint settling, thermal cycling, and poor surface contact can reduce that pressure. The connection may look tight, yet a thin gap can slowly appear beneath the head or nut.

NASA’s Fastener Design Manual, NASA-RP-1228, explains that preload is central to reliable bolted-joint performance. It also warns that vibration and embedment can reduce preload. The German VDI 2230 guideline similarly evaluates bolt load, friction, fatigue, and joint stiffness rather than torque alone. Torque is only an indirect estimate. Surface friction changes it.

John H. Bickford, a widely cited bolted-joint authority, describes the bolt simply: “A bolt is a spring.” That idea matters when diagnosing recurring loosening. A dry thread, damaged washer, uneven joint, or incorrect tightening sequence can leave too little elastic tension. Small details matter. A wrench can click while the joint remains under-tightened.

This guide examines practical causes, including vibration, thread mismatch, corrosion, thermal movement, and installation error. It also compares thread-locking compounds, prevailing-torque nuts, safety wire, and proper preload control. Some failures are less dramatic than expected. The fastener may not be “coming loose” first; the joint may be settling first. That distinction deserves careful inspection, measurement, and perhaps a second look at the original assembly method.
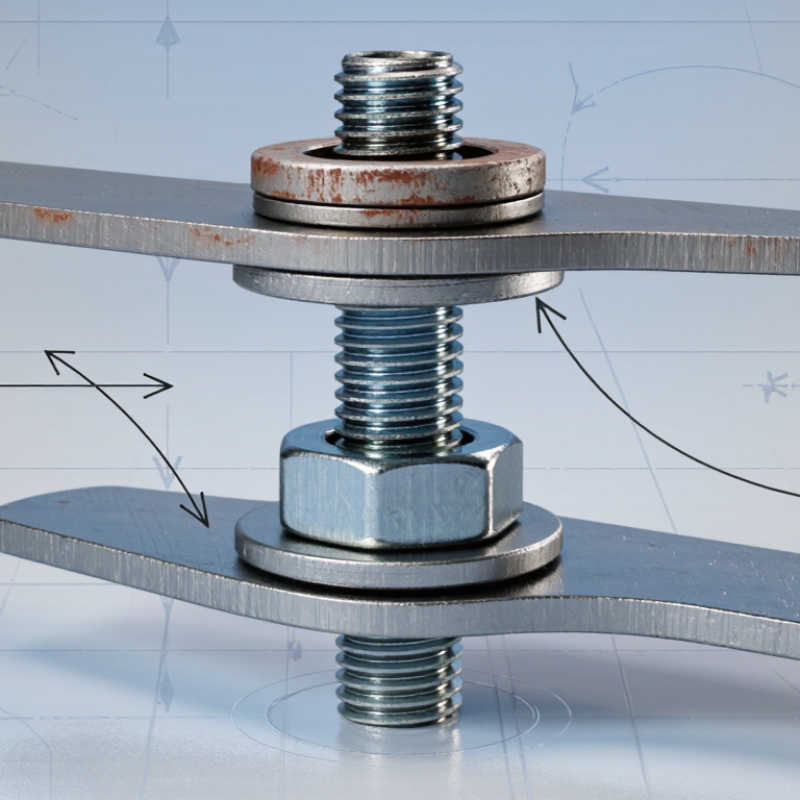
Why Does My Bolt With Screw Keep Coming Loose?

What a Bolt-and-Screw Connection Is and How It Should Work

A bolt-and-screw connection works by creating clamp force, not by simply filling a hole. A bolt normally passes through aligned parts and tightens against a nut. A screw may engage internal threads or cut into prepared material. In both cases, tightening stretches the fastener slightly and presses the joint faces together. That pressure limits movement. Without enough preload, vibration can rotate the fastener gradually. Then the joint begins to loosen.

The real problem is often at the joint surface. Paint, rust, dirt, soft washers, or uneven metal can compress after assembly. The original clamp force then falls. Cross-threading creates another weakness. So do worn threads. Different thread sizes may feel tight while offering poor engagement. I have also seen a fastener loosen because the wrench reached a convenient setting, not the specified one. Torque matters, but torque only estimates preload. Friction changes the result.

Start with a clean inspection. Look for shiny movement marks around the head, nut, or washer. Check thread damage and confirm full nut engagement. Reassemble dry unless instructions specify lubrication. If vibration remains, use a suitable locking method for that application. Options include a prevailing-torque nut, locking washer, or approved thread-locking compound. Do not stack random washers. They can reduce thread engagement. A torque wrench improves consistency. It cannot repair damaged threads or poor contact. I would recheck the joint after initial operation, because real assemblies sometimes settle more than expected.

Common Reasons a Bolt With a Screw Keeps Coming Loose

Why Does My Bolt With Screw Keep Coming Loose?

A bolt with a screw usually loosens because the joint loses clamping force. Vibration is a common cause, especially on motors, pumps, and metal frames. Repeated movement allows tiny slips between the mating surfaces. NASA Technical Report RP-1228 explains that torque tightening can create preload variation of nearly 35%. The bolt may feel tight, yet the joint may remain weak. That gap matters.

Wrong torque is not the only problem. Dirt, oil, paint, or burrs can prevent full contact under the head or nut. Soft materials may also compress after installation, a process called embedment. Heat cycles create another risk. Different metals expand at different rates, reducing tension during cooling. ISO 16130 dynamic testing evaluates this type of vibration loosening under controlled conditions. Damaged threads, an incorrect washer, or a bolt that is too long can worsen the movement.

Check the joint in place.

Clean both contact surfaces, inspect the threads, and use the specified torque value. A calibrated torque wrench is safer than guessing by hand. For vibrating joints, engineers may choose a prevailing-torque nut, a suitable locking washer, or a thread-locking compound approved for that application. These methods are not interchangeable. I once blamed vibration alone, but poor surface contact was the real cause. That mistake is easy to repeat. If loosening continues, measure preload or review the joint design rather than simply tightening harder.

How to Identify the Cause of the Loose Connection

Why Does My Bolt With Screw Keep Coming Loose?

How to Identify the Cause of the Loose Connection

A loose bolt-and-screw connection is usually a symptom, not the real diagnosis. Vibration may be responsible, but that assumption can be wrong. Check whether the fastener was tightened to the specified torque. Too little torque allows movement. Too much torque can stretch the bolt or damage the threads. Inspect both threaded surfaces under bright light. Look for flattened threads, metal dust, cross-threading, or a nut that no longer turns smoothly. Also check whether the joint faces are flat and clean. Paint, oil, rust, or small gaps can reduce clamping force. In my experience, a connection that feels tight by hand can still be unsafe.

Tips: Mark the bolt head and nearby surface with a fine line. Operate the equipment normally, then inspect the marks. If they no longer align, movement is occurring. Measure the thread size and pitch before replacing anything. A similar-looking fastener may not fit correctly. Use a calibrated torque wrench and follow the equipment maker’s specification. Do not guess.

If vibration is confirmed, choose a suitable locking method for the joint, such as a locking nut, thread-locking compound, or mechanical retainer. The correct choice depends on heat, moisture, service loads, and future maintenance. Replace damaged bolts and nuts instead of repeatedly tightening them. I have sometimes overlooked joint settling after assembly; washers and soft materials can compress during early use. For lifting equipment, vehicles, or pressure-bearing systems, have a qualified technician inspect the connection before continued operation.

Why Does My Bolt With Screw Keep Coming Loose?

How to identify the cause of a loose connection: the chart below shows how friction changes the clamp load produced by the same 50 N·m tightening torque on an M10 property-class 8.8 bolt. The values are calculated using preload = torque ÷ (nut factor × bolt diameter). A lower clamp load makes joint separation and loosening more likely.

What to check: High friction from damaged or corroded threads can reduce preload, while lubrication can increase preload and risk over-tightening. If the joint still loosens after correct tightening, inspect for vibration, embedment, misalignment, insufficient clamping length, or a missing locking method.

Step-by-Step Ways to Stop the Bolt From Loosening

A bolt with a screw keeps loosening when the joint loses clamping force. Vibration, poor thread contact, and uneven surfaces are common causes. Start by removing the bolt and inspecting both threads. Look for flattened ridges, rust, metal dust, or a damaged hole. Replace worn parts. Clean the threads, but do not add oil unless the torque specification allows it.

Use a calibrated torque wrench and follow the equipment maker’s specification. NASA’s Fastener Design Manual explains that friction consumes roughly 85% to 90% of applied tightening torque. Only about 10% to 15% creates useful preload. This explains why dirty or lubricated threads can change the result sharply. Tighten slowly, and keep the wrench square. A torque wrench is not optional here. It is easy to overtighten.

Choose a locking method that fits the joint. A spring washer may help with light-duty vibration, but it is not a universal solution. A prevailing-torque nut, thread-locking compound, or safety wire can provide stronger resistance when correctly selected. Never mix locking methods without checking clearance and service temperature. After assembly, mark the bolt and surface with a thin paint line. Recheck the mark after several operating cycles. If it moves, investigate the joint instead of simply tightening harder. I have seen repeated retightening hide a deeper alignment problem. That mistake can damage the threads. According to vibration testing methods described in DIN 25201, joint preload loss can occur quickly under transverse vibration, especially when clamping force is low.

When to Replace the Fastener or Seek Professional Help

Why Does My Bolt With Screw Keep Coming Loose?

When to Replace the Fastener or Seek Professional Help

A loose bolt is not always a simple tightening problem. Vibration, poor thread engagement, corrosion, and excessive friction can reduce clamping force. NASA’s Fastener Design Manual, NASA-RP-1228, explains that transverse vibration can progressively destroy preload. The Junker vibration test also shows that fasteners may lose clamping force after repeated movement. It can happen faster than expected.

Replace the fastener when its threads look flattened, stretched, rusty, or polished on one side. A bent bolt, damaged nut, or crushed washer also deserves replacement. Do not reuse a bolt that has visibly yielded. My first assumption used to be “tighten it harder.” That approach can damage threads or stretch the bolt further. Torque-tension guidance under ISO 16047 shows that friction commonly consumes about 85–95% of applied torque, so a torque reading does not always equal reliable clamping force.

Seek professional help when the joint supports machinery, vehicles, overhead loads, pressure, heat, or personal safety. A qualified technician can verify the fastener grade, engagement depth, torque method, and joint design. They may also check alignment and vibration sources. Stop using the equipment if the bolt repeatedly loosens, the joint shifts, or cracking appears nearby. Sometimes the fastener is only the messenger.

Why Does My Bolt With Screw Keep Coming Loose? - When to Replace the Fastener or Seek Professional Help

Observed condition Likely reason What to inspect Recommended action When to replace or seek professional help
Fastener loosens after vibration or repeated movement Insufficient clamping force, joint movement, or vibration-induced rotation Check whether the joint faces are moving, whether the nut is fully engaged, and whether the tightening torque matches the equipment specification Clean the threads, align the parts, and tighten with a calibrated torque wrench to the specified value Replace the fastener if threads are worn or deformed. Seek professional help if the joint is safety-critical or continues to loosen
Threads look flattened, crossed, sharp, or uneven Cross-threading, overtightening, contamination, or repeated reuse Compare the bolt and mating threads with an undamaged fastener of the same specification Do not force the fastener. Remove it and clean or repair the mating thread using the correct method Replace the bolt or screw when any thread damage affects engagement. Professional assistance is recommended if the internal thread is damaged
Rust, pitting, flaking, or deep surface corrosion Moisture, chemicals, galvanic corrosion, or unsuitable material selection Look for reduced thread height, deep pits, cracks, and corrosion beneath the head or nut Do not rely on surface cleaning when the metal section or threads are visibly weakened Replace corroded fasteners. Obtain professional advice for structural, pressure-containing, lifting, braking, or other critical assemblies
Bolt is bent, necked down, stretched, or has a damaged head Overload, excessive tightening, fatigue, impact, or previous seizure Check straightness, head condition, shank diameter, and any visible cracks Stop using the fastener and avoid attempting to straighten or reuse it Replace immediately. Seek professional help if the cause may be overload, fatigue, or damage to the connected parts
Nut or screw bottoms out before the joint is clamped Incorrect length, insufficient thread engagement, spacer interference, or a mismatched nut Confirm the fastener diameter, pitch, length, washer arrangement, and available thread engagement Use the correct fastener specification; do not add random washers or stack parts to compensate Replace with the specified size. Ask a qualified technician if the required engagement or joint design is uncertain
Washer is cupped, cracked, missing, or cutting into the surface Excessive bearing pressure, unsuitable washer type, soft material, or repeated movement Inspect the bearing surface and verify that the washer is suitable for the load and joint material Replace damaged washers and correct the joint surface before retightening Seek professional help when the joint surface has collapsed, cracked, or cannot provide a stable bearing area
Locking nut or locking feature no longer provides resistance Worn locking element, repeated reuse, heat exposure, contamination, or incorrect installation Check whether the locking feature still creates resistance during installation and whether it is damaged Replace the locking nut or locking component when its locking action is noticeably reduced Use the replacement method specified for the assembly. Seek advice for high-temperature or high-vibration applications
Fastener repeatedly loosens after correct tightening Joint design, insufficient preload, vibration, settlement, thermal cycling, or an underlying crack Inspect joint alignment, surface condition, movement, heat exposure, and signs of cracking or fretting Do not simply tighten it harder. Identify and correct the cause of the lost clamping force Seek professional help when loosening persists, especially in load-bearing or moving equipment
Fastener is seized and requires excessive force to remove Corrosion, thread galling, chemical buildup, or cross-threading Check for damaged corners, visible corrosion, heat-sensitive components, and nearby wiring or seals Use an appropriate penetrating method and correct tools; avoid uncontrolled force or heat Stop and seek professional help if removal could damage the housing, shaft, pipe, electrical system, or safety component
Joint shows cracking, leakage, movement, or loss of alignment The problem may extend beyond the fastener and may involve overload, fatigue, failed seals, or structural damage Check for visible cracks, fluid leakage, unusual noise, deformation, and movement under normal operation Isolate or stop the equipment when continued operation could create a hazard Seek qualified professional inspection before replacing the fastener or returning the equipment to service
Important installation note: Always use the specified fastener diameter, thread type, length, material, strength class, washer arrangement, and tightening torque. Torque values are not universal; they depend on the fastener specification, lubrication, joint design, and application. Never substitute a different fastener specification in a safety-critical assembly without qualified approval.

FAQS

Why does a bolt or screw connection loosen?

It loosens when clamping force drops. Vibration, dirt, rust, soft washers, and uneven surfaces can cause this loss. Low preload is often the real problem.

What should I inspect before tightening the fastener?

Remove the fastener and inspect both threads. Look for flattened ridges, rust, metal dust, or a damaged hole. Check for shiny movement marks around the head, nut, or washer.

Should the threads be lubricated before assembly?

Usually, reassemble them dry unless the tightening instructions allow lubrication. Lubrication can sharply change friction and increase preload. That may cause overtightening.

How important is the correct tightening torque?

Use a calibrated torque wrench and the specified value. Torque only estimates preload because friction changes the result. Tighten slowly, with the wrench held square.

Why can a tight bolt still provide weak clamping?

Cross-threaded or mismatched threads may feel tight but hold poorly. A partially engaged nut also reduces strength. Tight is not always secure.

Which locking method should I choose?

Choose a method suited to vibration, temperature, and available clearance. Options include a prevailing-torque nut, locking washer, or approved thread-locking compound. Do not combine methods casually.

Can extra washers stop a bolt from loosening?

Random washers can reduce thread engagement and worsen the joint. Use only suitable washers with the correct hardness and size. More parts do not always mean more security.

How can I tell whether the connection moved after assembly?

Apply a thin paint line across the fastener and nearby surface. Recheck it after several operating cycles. A broken or shifted line needs investigation, not simply harder tightening.

What if the fastener keeps loosening after retightening?

Stop repeating the same adjustment. Check alignment, joint surfaces, thread condition, and vibration direction. I might blame the bolt too quickly; the surrounding joint may be the deeper fault.

Conclusion

A Bolt With Screw connection relies on proper alignment, matching threads, and enough tightening force to hold two parts securely. When the fastener keeps coming loose, the cause may be vibration, insufficient torque, damaged or mismatched threads, worn parts, uneven surfaces, or repeated movement of the joined materials. Understanding how the bolt and screw work together makes it easier to diagnose the problem instead of simply tightening it again.

To identify the cause, inspect the threads, contact surfaces, holes, and surrounding parts for wear, dirt, rust, or movement. Clean the connection, realign the parts, tighten the fastener evenly, and use an appropriate locking method when suitable, such as a lock washer, thread-locking compound, or a correctly fitted nut. Avoid overtightening, which can damage the threads or the connected material. If the fastener is bent, cracked, severely worn, or repeatedly fails after proper installation, replace it with the correct size and type. Seek professional help when the connection supports heavy loads or affects safety.


Oliver

Oliver

Oliver is a seasoned marketing professional with a wealth of expertise in driving brand awareness and engagement. With a deep understanding of our company's product offerings, he consistently delivers high-quality content that enriches our professional blog. His insights not only shed light on......