Screw In Washer Tips for Efficient Installation and Use

Time:2026-08-17 Author:Ethan
0%

The efficient installation and use of a Screw In Washer can greatly enhance assembly quality and performance. Renowned expert in fastening technology, Dr. Lisa Harmon, emphasizes, “The right installation technique ensures maximum reliability.” This statement highlights the importance of understanding the specific details involved when working with screw in washers.

Proper installation requires attention to several factors. For example, selecting the correct material is crucial, as different applications may demand distinct properties. Additionally, ensuring proper tension during installation can prevent future failures. Yet, even experienced professionals can overlook these details at times. Awareness of these pitfalls is vital for achieving desired results.

In practice, a simple yet effective approach can yield beneficial outcomes. Practicing on scrap materials before real-world application is advisable. This allows users to refine their techniques. Using a torque wrench can provide precision that hand tightening often lacks. Recognizing the nuances involved in using a Screw In Washer can ultimately lead to improved structural integrity and longevity in various projects.
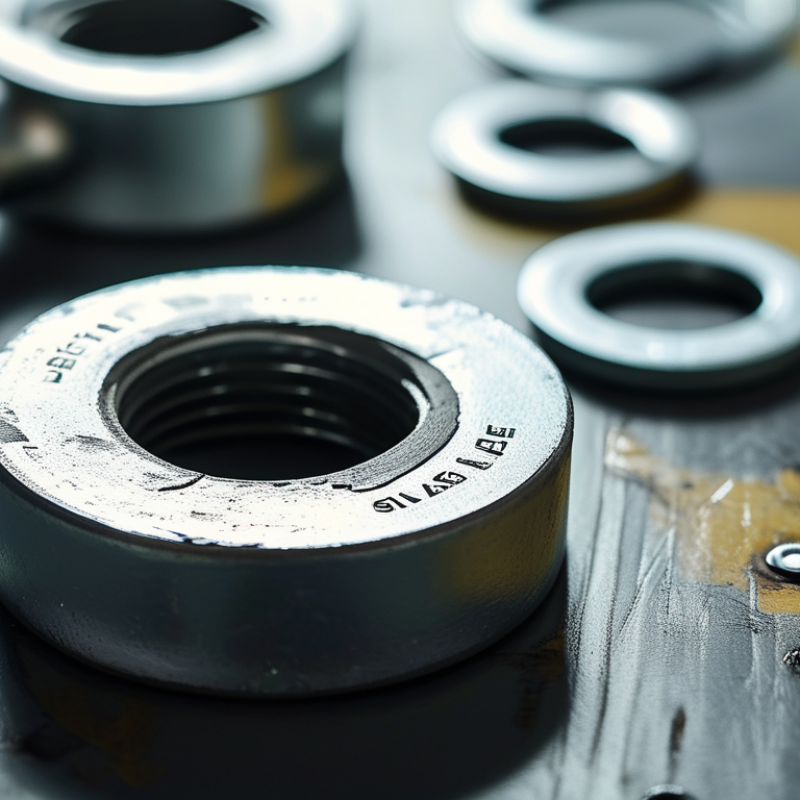
Screw In Washer Tips for Efficient Installation and Use

Choosing the Right Screw In Washer for Your Project

Choosing the right screw-in washer is crucial for any project, whether it’s a DIY task or professional work. Different projects require different types of washers. Assess the material you’re working with before making a choice. For wooden surfaces, a rubber washer often provides the best grip. For metal, flat washers can prevent slipping.

**Tips:** Consider the load requirements too. A thicker washer distributes weight better and prevents damage to the material. Always match the screw size with the chosen washer. Mismatched sizes can lead to instability. Remember, some projects may not require a washer at all, depending on the screw type and material.

When selecting a washer, be mindful of the environment. Exposure to moisture can lead to corrosion. Stainless steel washers are a good choice for outdoor projects. However, they might not always be necessary indoors. It's essential to reflect on your project needs and ensure your choice enhances durability. Avoid making assumptions; measure and review before finalizing.

Preparing Surfaces for Optimal Washer Installation

Preparing surfaces for optimal washer installation is crucial for achieving a secure fit. Begin by thoroughly cleaning the area where the screw-in washer will be placed. Dust, debris, and old materials can hinder proper sealing. Use a wire brush or sandpaper to remove any rust or paint. This ensures a flat, smooth surface.

Next, inspect the surface for any imperfections. Small dents or irregularities can affect washer performance. Filling these gaps with appropriate filler can help create an even base. Consider using a primer if the surface is metal; this can prevent corrosion and enhance adhesion. Use a level to check alignment before installing the washer.

Finally, ensure that the ambient conditions are suitable. Too much moisture or heat can affect the materials used in the installation. If your surface feels uneven, it is okay to take a step back and reassess. Skipping these preparatory steps could lead to more significant issues down the line. Aim for precision in every step; your efforts will pay off in improved performance and longevity.

Screw In Washer Tips for Efficient Installation and Use

Preparation Step Description Recommended Tools Best Practices
Clean the Surface Remove any dust, grease, or debris to ensure a strong fit. Cloth, Cleaner, Brush Use non-abrasive cleaners to avoid surface damage.
Check for Damage Inspect surfaces for any cracks or uneven areas. Visual Inspection Tools Repair any damage prior to installation for optimal results.
Select the Right Washer Choose a washer that fits the screw type and application. Washers, Sizing Guide Consult charts for proper size and material recommendations.
Use Proper Torque Apply the right amount of torque to avoid damage. Torque Wrench Follow manufacturer's torque specifications carefully.
Conduct a Final Check Ensure everything is secure and properly sealed. Inspection Tools Reinspect all areas after installation for thoroughness.

Step-by-Step Guide to Installing Screw In Washers

Installing screw-in washers can be straightforward, but attention to detail is essential. Begin by selecting the right type of washer for your project. Ensure it matches the specifications of your screws and the materials you are working with. A common mistake is choosing a washer that is too thin or thick, which may lead to improper sealing or stability.

When preparing for installation, clean the surface where the washer will be placed. Dirt or debris can compromise effectiveness. Align the washer correctly with the screw hole. If misaligned, the washer may not function as intended. It’s also crucial to tighten screws slowly. Over-tightening can strip the thread or damage the materials.

Installing a screw-in washer is often more art than science. Every project can differ, and what worked once may not work perfectly again. Pay attention to how the washer sits against the surface. Does it wobble? Ensure there’s even contact. If adjustments are needed, don’t hesitate to remove the washer and start over. Learning from these small errors can lead to a more secure installation in the future.

Common Mistakes to Avoid When Using Screw In Washers

When using screw-in washers, avoiding common mistakes is crucial for successful installation. One frequent error is insufficient tightening. Many people underestimate how firmly a washer needs to grip the material. This can lead to leaks or loose connections. Always check that the washer is secure.

Another mistake is ignoring the surface condition. Dirty or uneven surfaces can compromise the effectiveness of the washer. Before installation, ensure the area is clear and smooth. This small step can save a lot of hassle later.

Tips for efficient use include selecting the right washer for your application. Different materials and sizes are designed for specific tasks. Using the wrong type can lead to failure. Also, make it a habit to inspect washers regularly. Wear and tear can go unnoticed until it’s too late. Pay attention to the signs of damage. Being proactive can prevent more significant issues down the road.

Maintaining and Inspecting Screw In Washers for Longevity

Screw in washers are crucial for various applications, but their longevity often depends on proper maintenance and regular inspection. Over time, these washers can accumulate dirt and debris, which can weaken their seal and effectiveness. It’s essential to develop a routine for checking these components. Look for signs of wear or damage, as even small imperfections can lead to significant leaks or malfunctions.

Inspecting screw in washers doesn’t have to be complicated. A quick visual check can reveal if the surface is clean and free from corrosion. Additionally, applying a mild cleaning solution can help maintain their integrity. Be cautious with excessive force during installation, as this may lead to stripping or cracking. Understanding that even a minor flaw might cause issues promotes a more thoughtful approach to use and installation. Regularly replacing worn washers can save time and resources in the long run.

Screw In Washer Usage and Maintenance Statistics

FAQS

: How do I choose the right screw-in washer?

: Assess the material first. Rubber washers are great for wood, while flat washers suit metal surfaces better.

What factors should I consider when selecting a washer?

Consider the load requirements. Thicker washers help distribute weight better and prevent damage.

Do I always need a washer for my screws?

Not always. Some screw types and materials might work well without a washer.

How can I prepare surfaces for washer installation?

Clean the area thoroughly. Remove dust, debris, or old materials to ensure a secure fit.

What should I do if my surface has imperfections?

Inspect for dents or irregularities. Fill gaps to create an even base before installation.

What happens if I misalign the washer during installation?

Misalignment can hinder washer function. Always double-check alignment before securing the washer.

How should I tighten screws with washers?

Tighten slowly to avoid stripping threads. Over-tightening can damage materials or compromise the seal.

Is environmental condition important before installing?

Yes, too much moisture or heat can affect materials. Assess conditions for optimal results.

What if the washer wobbles after installation?

If the washer wobbles, remove it and reassess. Ensuring even contact is crucial for performance.

How can I improve my installation skills over time?

Learn from small errors. Reflect on what worked and what didn’t for better future installations.

Conclusion

The article "Screw In Washer Tips for Efficient Installation and Use" provides essential guidance for effectively utilizing screw in washers in various projects. It begins by emphasizing the importance of choosing the right screw in washer, considering factors like size and material to match project requirements. Preparing surfaces is highlighted as a critical step for ensuring optimal washer installation, preventing issues down the line.

The article outlines a straightforward, step-by-step guide for installing screw in washers, which helps in achieving a secure fit. Additionally, it discusses common mistakes to avoid, such as improper torquing and failing to clean surfaces, which can compromise installation quality. Lastly, maintaining and inspecting screw in washers are addressed to enhance their longevity, ensuring the integrity of the overall assembly. With this comprehensive approach, the article serves as a valuable resource for anyone looking to improve their installation skills and maximize the performance of screw in washers.


Ethan

Ethan

Ethan is a seasoned marketing professional with a deep expertise in our company's innovative product line. With a passion for sharing knowledge and insights, he takes the lead in regularly updating our corporate blog, where he explores industry trends, product features, and effective marketing......